![Orchidea logo white with orange dot.png]](https://knowledge.orchidea.dev/hs-fs/hubfs/Orchidea%20logo%20white%20with%20orange%20dot.png?width=161&height=51&name=Orchidea%20logo%20white%20with%20orange%20dot.png)
💡We recommend creating your first channels with the templates.
The steps to create a channel from a scratch are:
- Create a channel
- Create a new channel by clicking + New Channel in the left navigation. Select Continue without template. Add a name and description for the channel, and choose if it's private or public.

- Create a new channel by clicking + New Channel in the left navigation. Select Continue without template. Add a name and description for the channel, and choose if it's private or public.
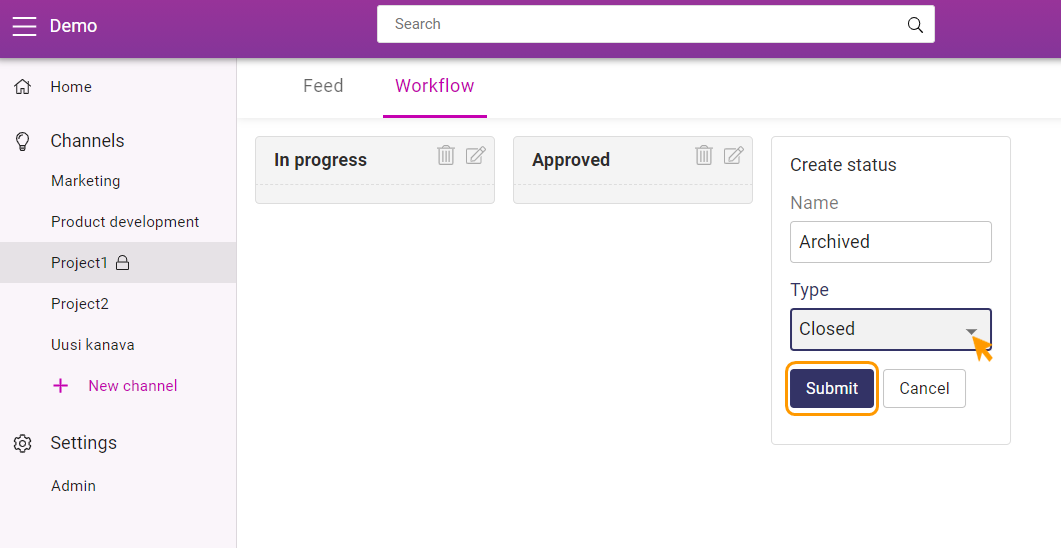
- Create a workflow and statuses for managing proposals
- After creating the channel, create a workflow and its statuses. The purpose of the statuses is to model the proposal management and communicate to participants the stages of the process. Stages could be e.g. "New", "In progress", "Approved", and "Archived".
- After creating the channel, create a workflow and its statuses. The purpose of the statuses is to model the proposal management and communicate to participants the stages of the process. Stages could be e.g. "New", "In progress", "Approved", and "Archived".
- Create a proposal submission form
- Next, create a proposal submission form. You can customize the form to make it fit the purposes of your channel by adding existing fields to the form, editing them, or creating more fields yourself.
More detailed instructions: Creating and Editing a Form
- Next, create a proposal submission form. You can customize the form to make it fit the purposes of your channel by adding existing fields to the form, editing them, or creating more fields yourself.
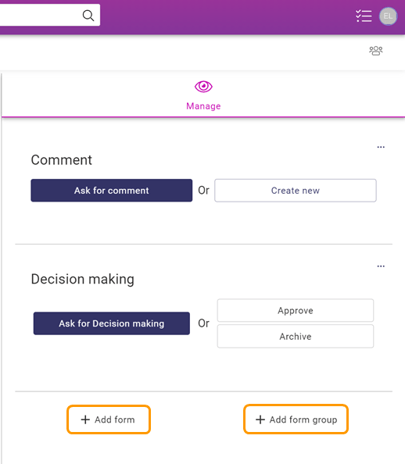
- Create forms for proposal management
- Next you need to define forms for proposal management. Management forms are especially useful when there are well-established steps and information to be collected in different stages of the process.
- You can also make processing forms mandatory so that a proposal cannot be moved to a status without a form being filled. This simplifies the work of the manager as automation guides the managers to collect the data associated at each stage.
More detailed instructions: Creating and editing a form