Add Orchidea as a data source to Microsoft Power BI
You can add Orchidea as a data source to Microsoft Power BI with a few simple clicks
Needed plan
This feature is available on Orchidea Professional and Enterprise plans.
Notice!
You need to be a workspace admin or owner to modify the settings.
Here is how you add Orchidea as a data source to Microsoft Power BI:
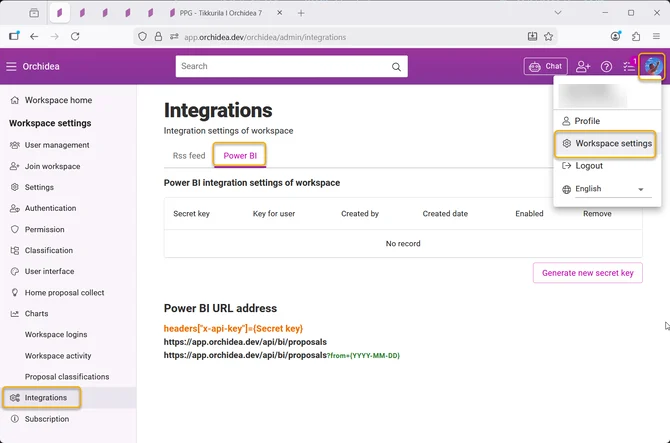
Click your user avatar icon in the top-right corner and select Workspace Settings from the menu. Then select Integrations in the left menu. Click the Power BI tab.
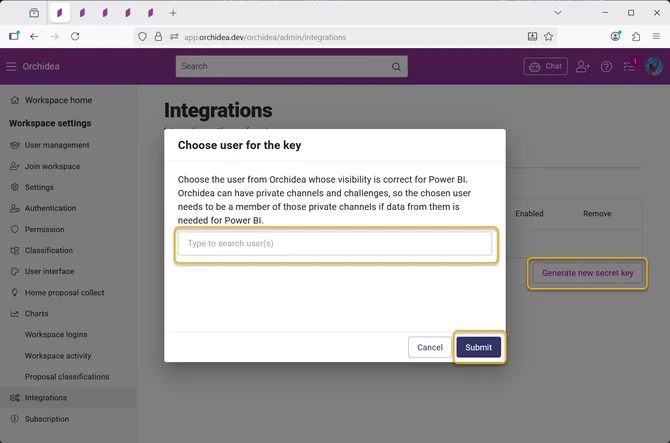
Click Generate new secret key and select the user whose access rights the integration will reflect. The integration can always read data from all public channels, challenges, and workshops in the workspace. Access to private channels, challenges, and workshops will be granted to those channels, challenges, and workshops where the selected user is a member.
- Once you have selected the user, click Submit.
Copy the Secret key that you just created.

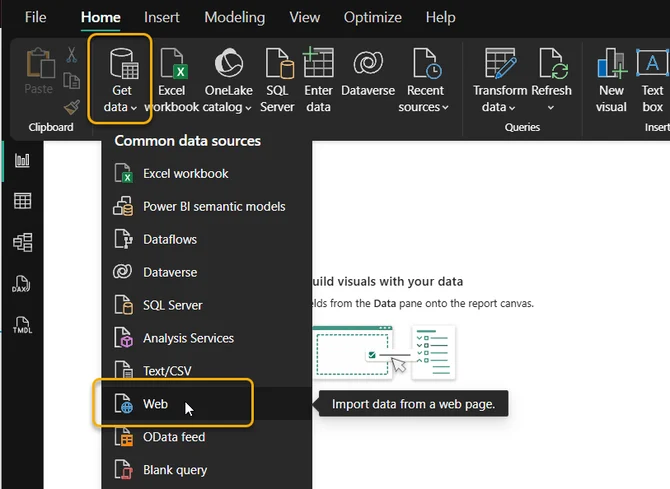
Open Microsoft Power BI Desktop on your PC.
Click Get data in the ribbon and select Web.
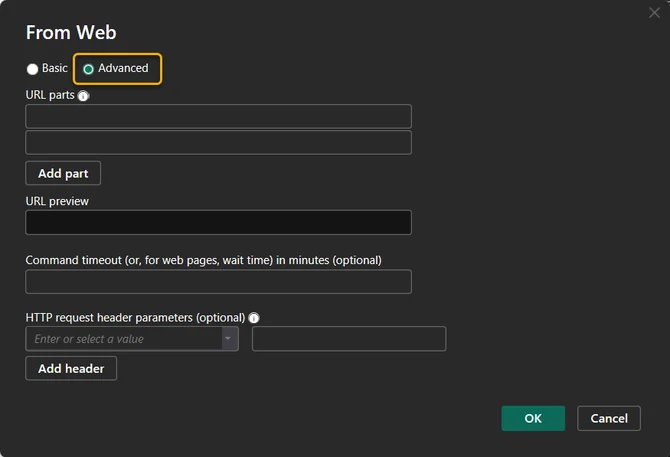
Click Advanced in the appearing window.
Form the URL part that defines the data.
- It starts with the common URL
https://app.orchidea.dev/api/bi/proposals? - You must include the
fromquery parameter. It tells the API: "Give me proposals updated or deleted since this date."- For example:
https://app.orchidea.dev/api/bi/proposals?from=2025-01-01 - Give the date in the format
YYYY-MM-DDfor example2025-01-01.
- For example:
- Define the data fields you want to include by adding them after the date. The data field part starts with
&include=and the data fields are separated with the+sign.- For example, proposal title and status:
https://app.orchidea.dev/api/bi/proposals?from=2025-01-01&include=title+status - Available data field values are:
titlecreatedAtviewCountcommentCountchannelNamelinkstatushashtagscreatorshandlersstatusHistoryreactionsclassification
- For example, proposal title and status:
- It starts with the common URL
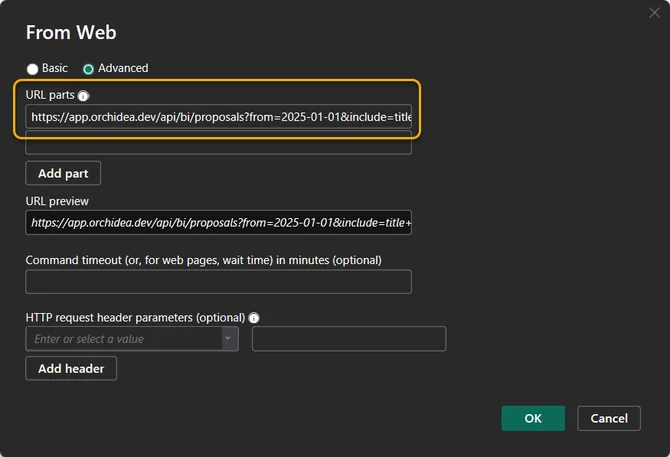
Fill in the URL you formed above in the URL parts field in the window.
Copy the text
X-API-Keyto the left field in HTTP request header parameters.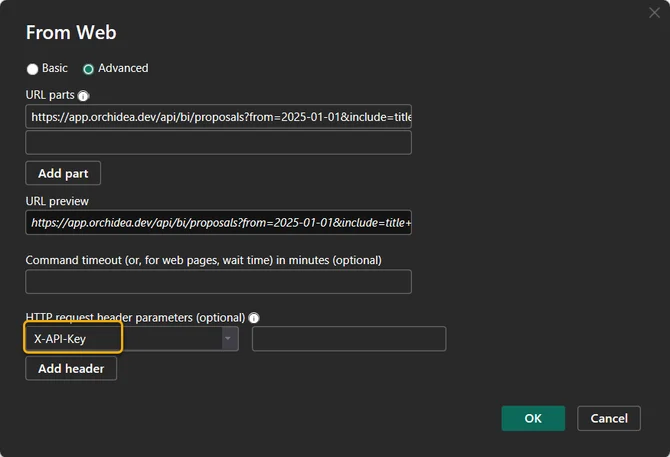
Copy the Secret key that you created in step 3 of this article to the right field in HTTP request header parameters.
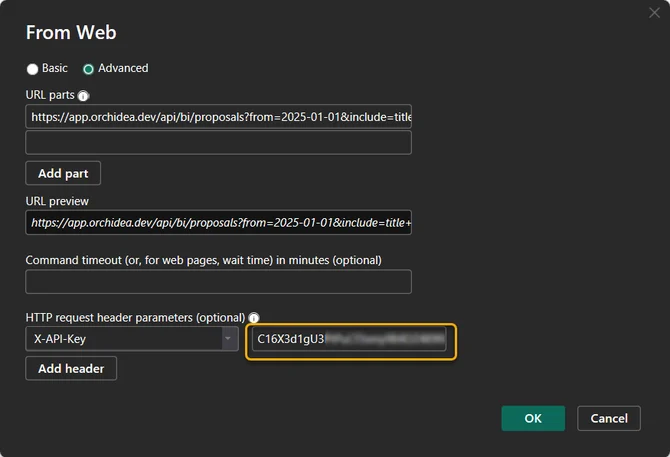
Click OK to add Orchidea as a data source to Microsoft Power BI.
If you receive an error message after clicking OK, decrease the data set size by selecting a date closer to today in the
fromquery parameter in step 7.