Google single sign-on (SSO) integration with Orchidea
In this tutorial, you'll learn how to set up SSO in Orchidea with Google as your identity provider (Custom SAML app)
Needed plan
This feature is available on Orchidea Professional and Enterprise plans.
Follow these steps to add a custom SAML app (SSO) in the Google Workspace Admin portal.
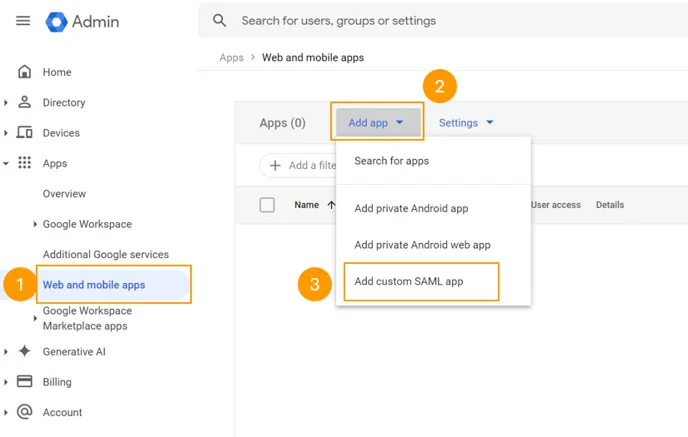
Click Web and mobile apps in the left-side navigation in Google Admin. Then, from the Add app menu, select Add custom SAML app.
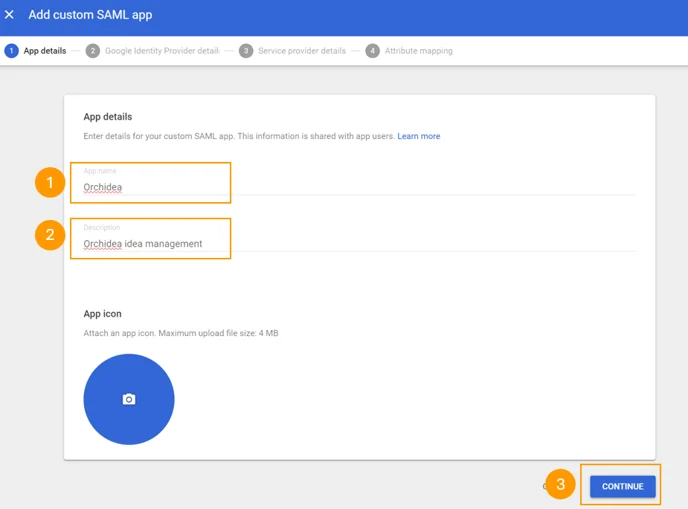
Fill in App name and Description, then click Continue.
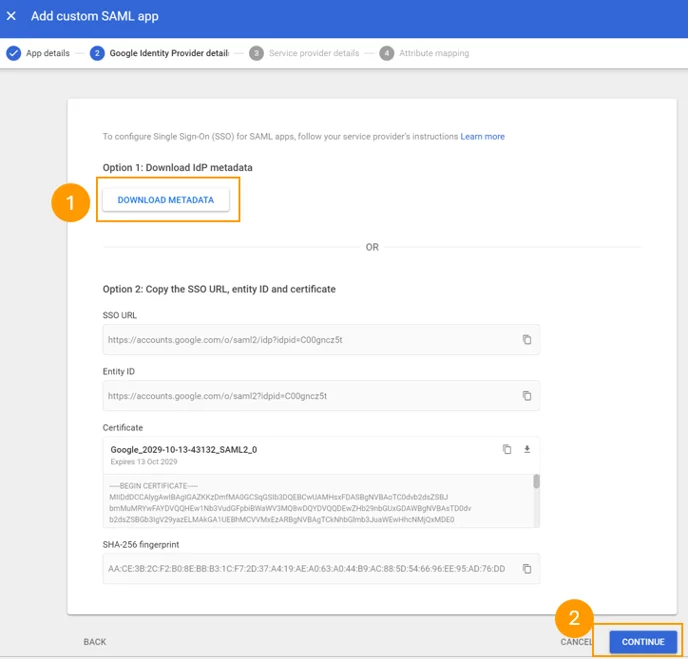
Download the metadata and click Continue.
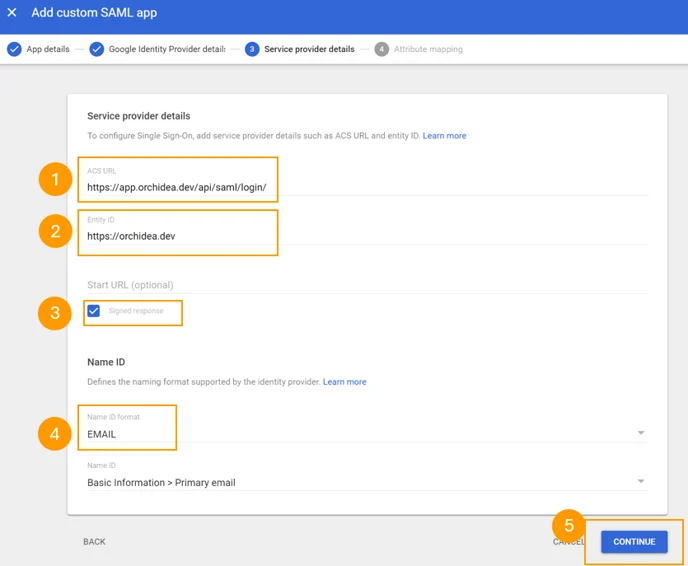
Fill in the SAML settings as follows:
- Add
https://app.orchidea.dev/api/saml/login/to ACS URL as a placeholder address. This will be changed later. - Add
https://orchidea.devto Entity ID. - Select the Signed response checkbox.
- Choose EMAIL as the Name ID format and click Continue.
- Add
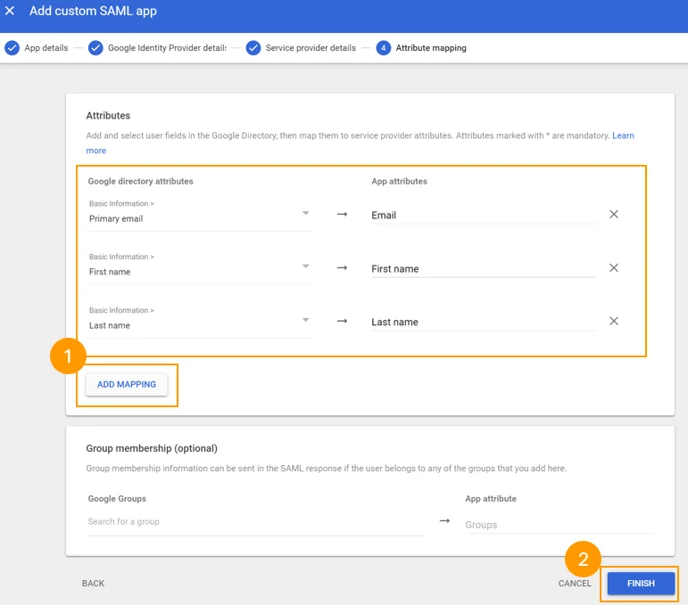
Click the Add mapping button three times to add the needed attribute mappings. Select the following Google directory attributes and enter the following texts in App attributes:
- Primary email -> Email
- First name -> First name
- Last name -> Last name
Click Finish.
Navigate to Workspace settings by clicking the sprocket icon in the top right corner of Orchidea.
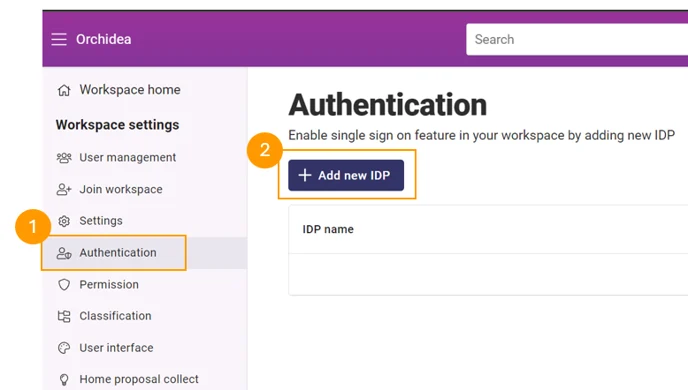
Click Authentication in the left-side navigation. Then click + Add new IDP.
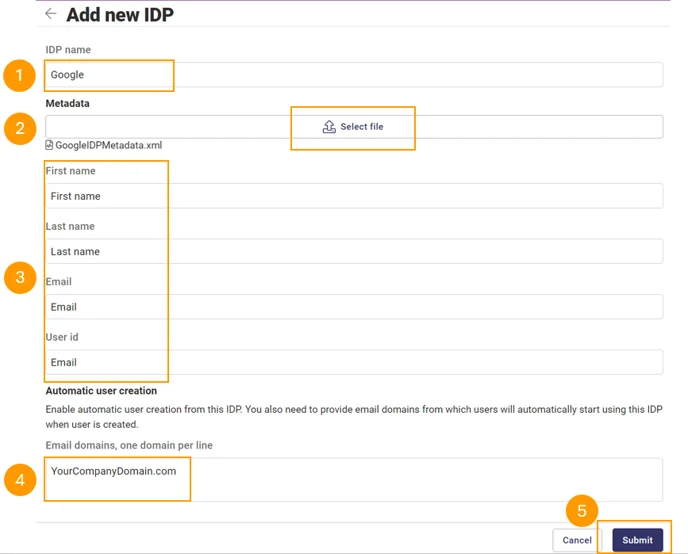
Add all needed information:
- IDP name: for example, Google
- Click Select file and choose the metadata file that you downloaded earlier from Google.
- Write the following attribute names exactly like this:
First name-> First name,Last name-> Last name,Email-> Email,User id-> Email
Notice! (4)
To ensure that new user accounts are automatically associated with this IDP upon their first login to Orchidea, enter the relevant email domains in the Automatic User Creation section. This allows all users with matching email domains to be automatically linked to this IDP and required to use it for authentication.
Click Submit to create the new IDP.
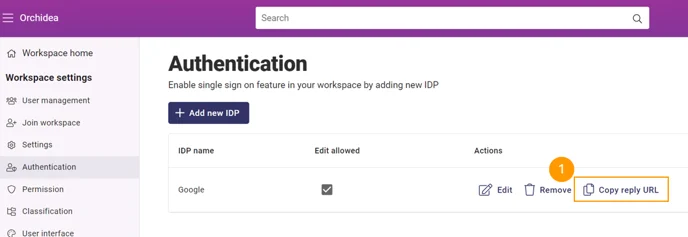
Click the Copy reply URL button in the IDP you just created to copy the address to the clipboard.
Go back to the Google Admin panel and click the down arrow in the Service provider details view.
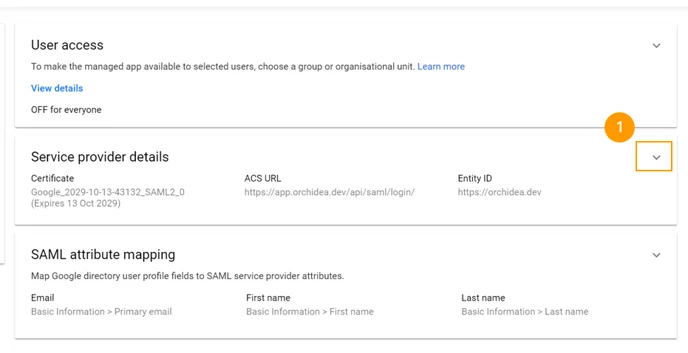
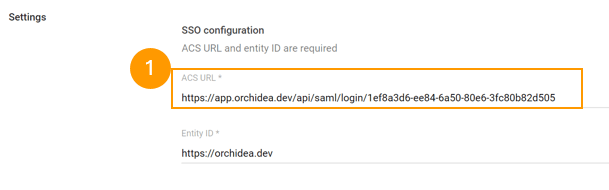
Modify the ACS URL by pasting the new value from the clipboard. You copied this value in step 9. Click Save.
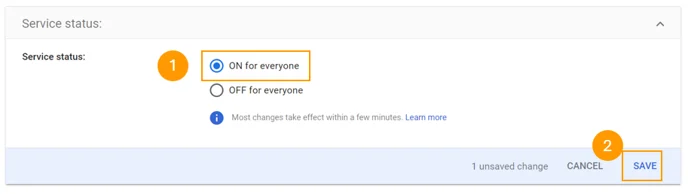
As the final step in Google Admin, change User access by clicking the down arrow in the User access view.

Modify access and click Save.
To test the integration, you can (1) bind the IDP to the chosen user by selecting the IDP for that user in the User management list view. If you are testing this by yourself, it is also recommended to switch Manual sign in (2) on. This ensures that you will not lose access to your workspace if the integration does not work for some reason.
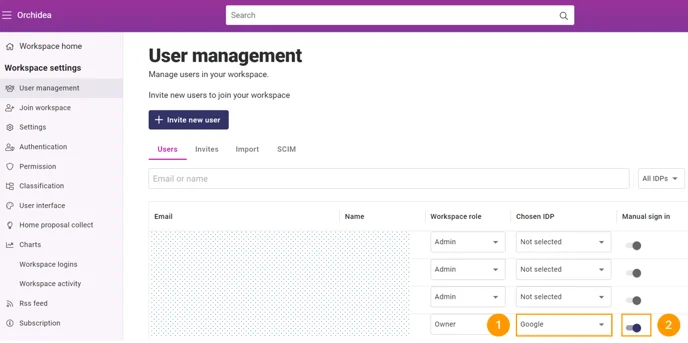
Sign out from Orchidea and sign back in using the IDP option during the login process.